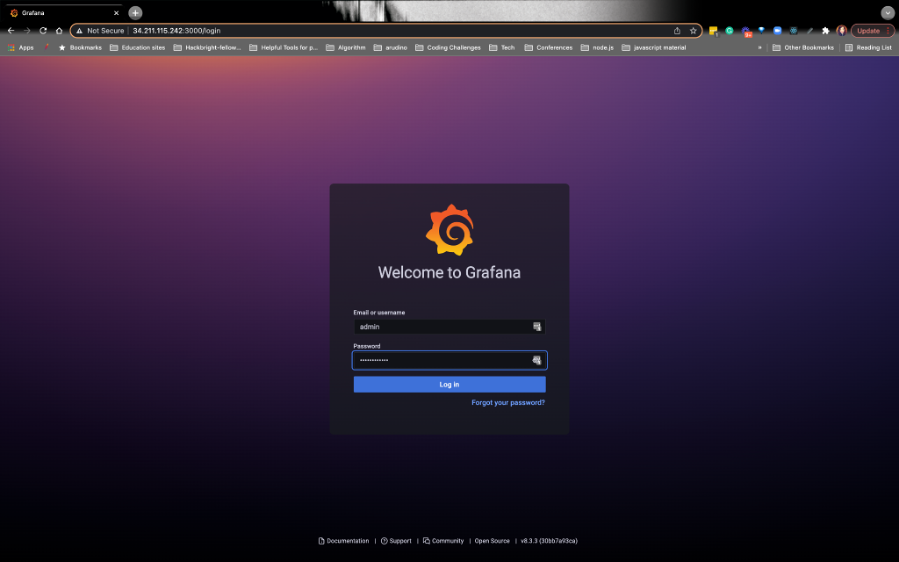
Login to Grafana
1. LOCATE THE USERNAME AND PASSWORD TO LOG IN TO GRAFANA
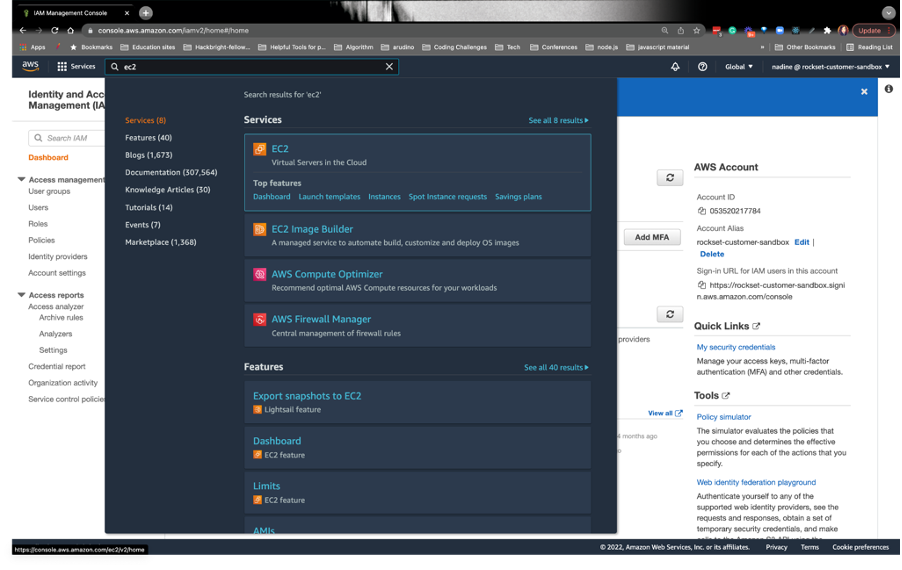
- On AWS, search for EC2 and click on the first icon that pops up:
Click on Instances on the left nav.
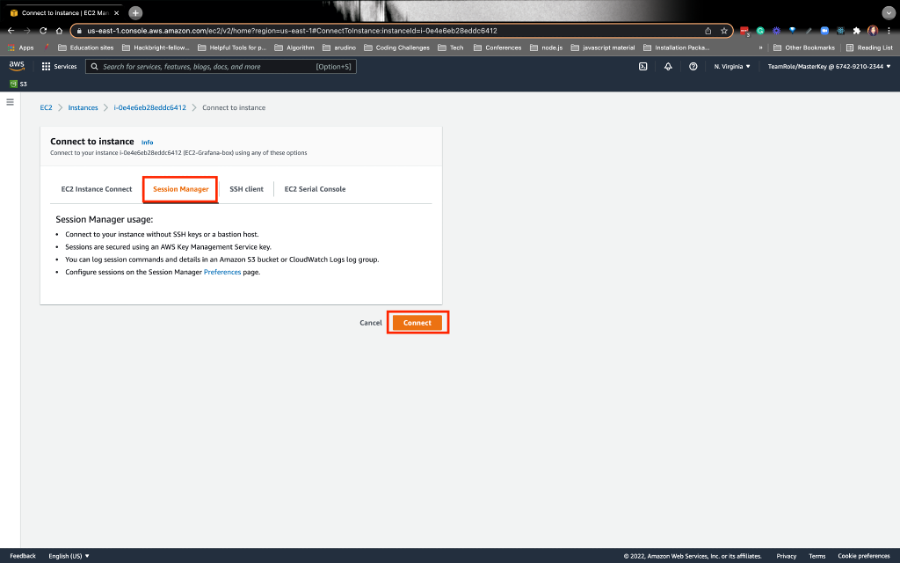
Check the box next to EC2-Grafana-box and click on Connect in the upper right-hand corner.

- Connect to the Session Manager so we can interact with the EC2 instance. Finally, click on Connect:
Once you connect to the instance, run the following script to get the username and password for Grafana. Please store these credentials somewhere. You’ll need them later:
grep admin_password /opt/bitnami/grafana/conf/grafana.ini
2. INSTALL THE ROCKSET PLUGIN
Now we’ll edit the [plugins] section in the grafana.ini file. It’s important to note that this section is towards the bottom of the file.
sudo vim /opt/bitnami/grafana/conf/grafana.iniScroll down to the [plugins] section. To edit the file, type i and type this below the [plugins] section (PLEASE, DO NOT COPY AND PASTE). Type:
allow_loading_unsigned_plugins = “rockset-backend-datasource”
To save the file, press the escape key and type:
wq!

Run the following script to restart the server:
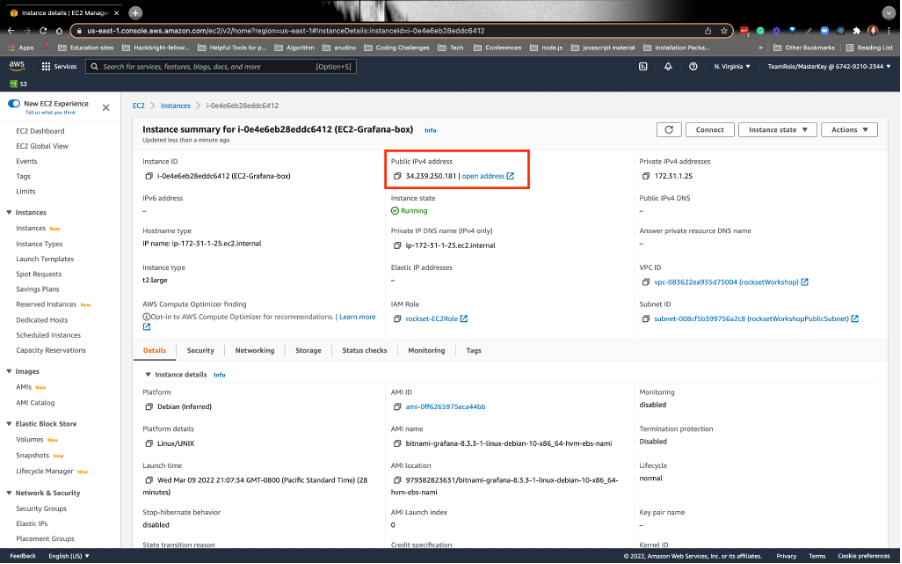
sudo systemctl restart bitnamiOpen up the public IPv4 address with port 3000. MAKE SURE IT’S HTTP-. i.e. http://xx.xxx.xxx.xxx:3000/login
It should pull up the homepage. Use the username and password you saved earlier: